[Guide] Connect SSH IoT Device Over Internet (Android APK) - Easy Steps
Have you ever dreamt of remotely controlling your home's lights, monitoring your garden's temperature, or troubleshooting a distant server, all from the palm of your hand? The ability to securely access and manage your Internet of Things (IoT) devices via Secure Shell (SSH) over the internet, using an Android APK, is no longer a futuristic fantasy; it's a readily achievable reality.
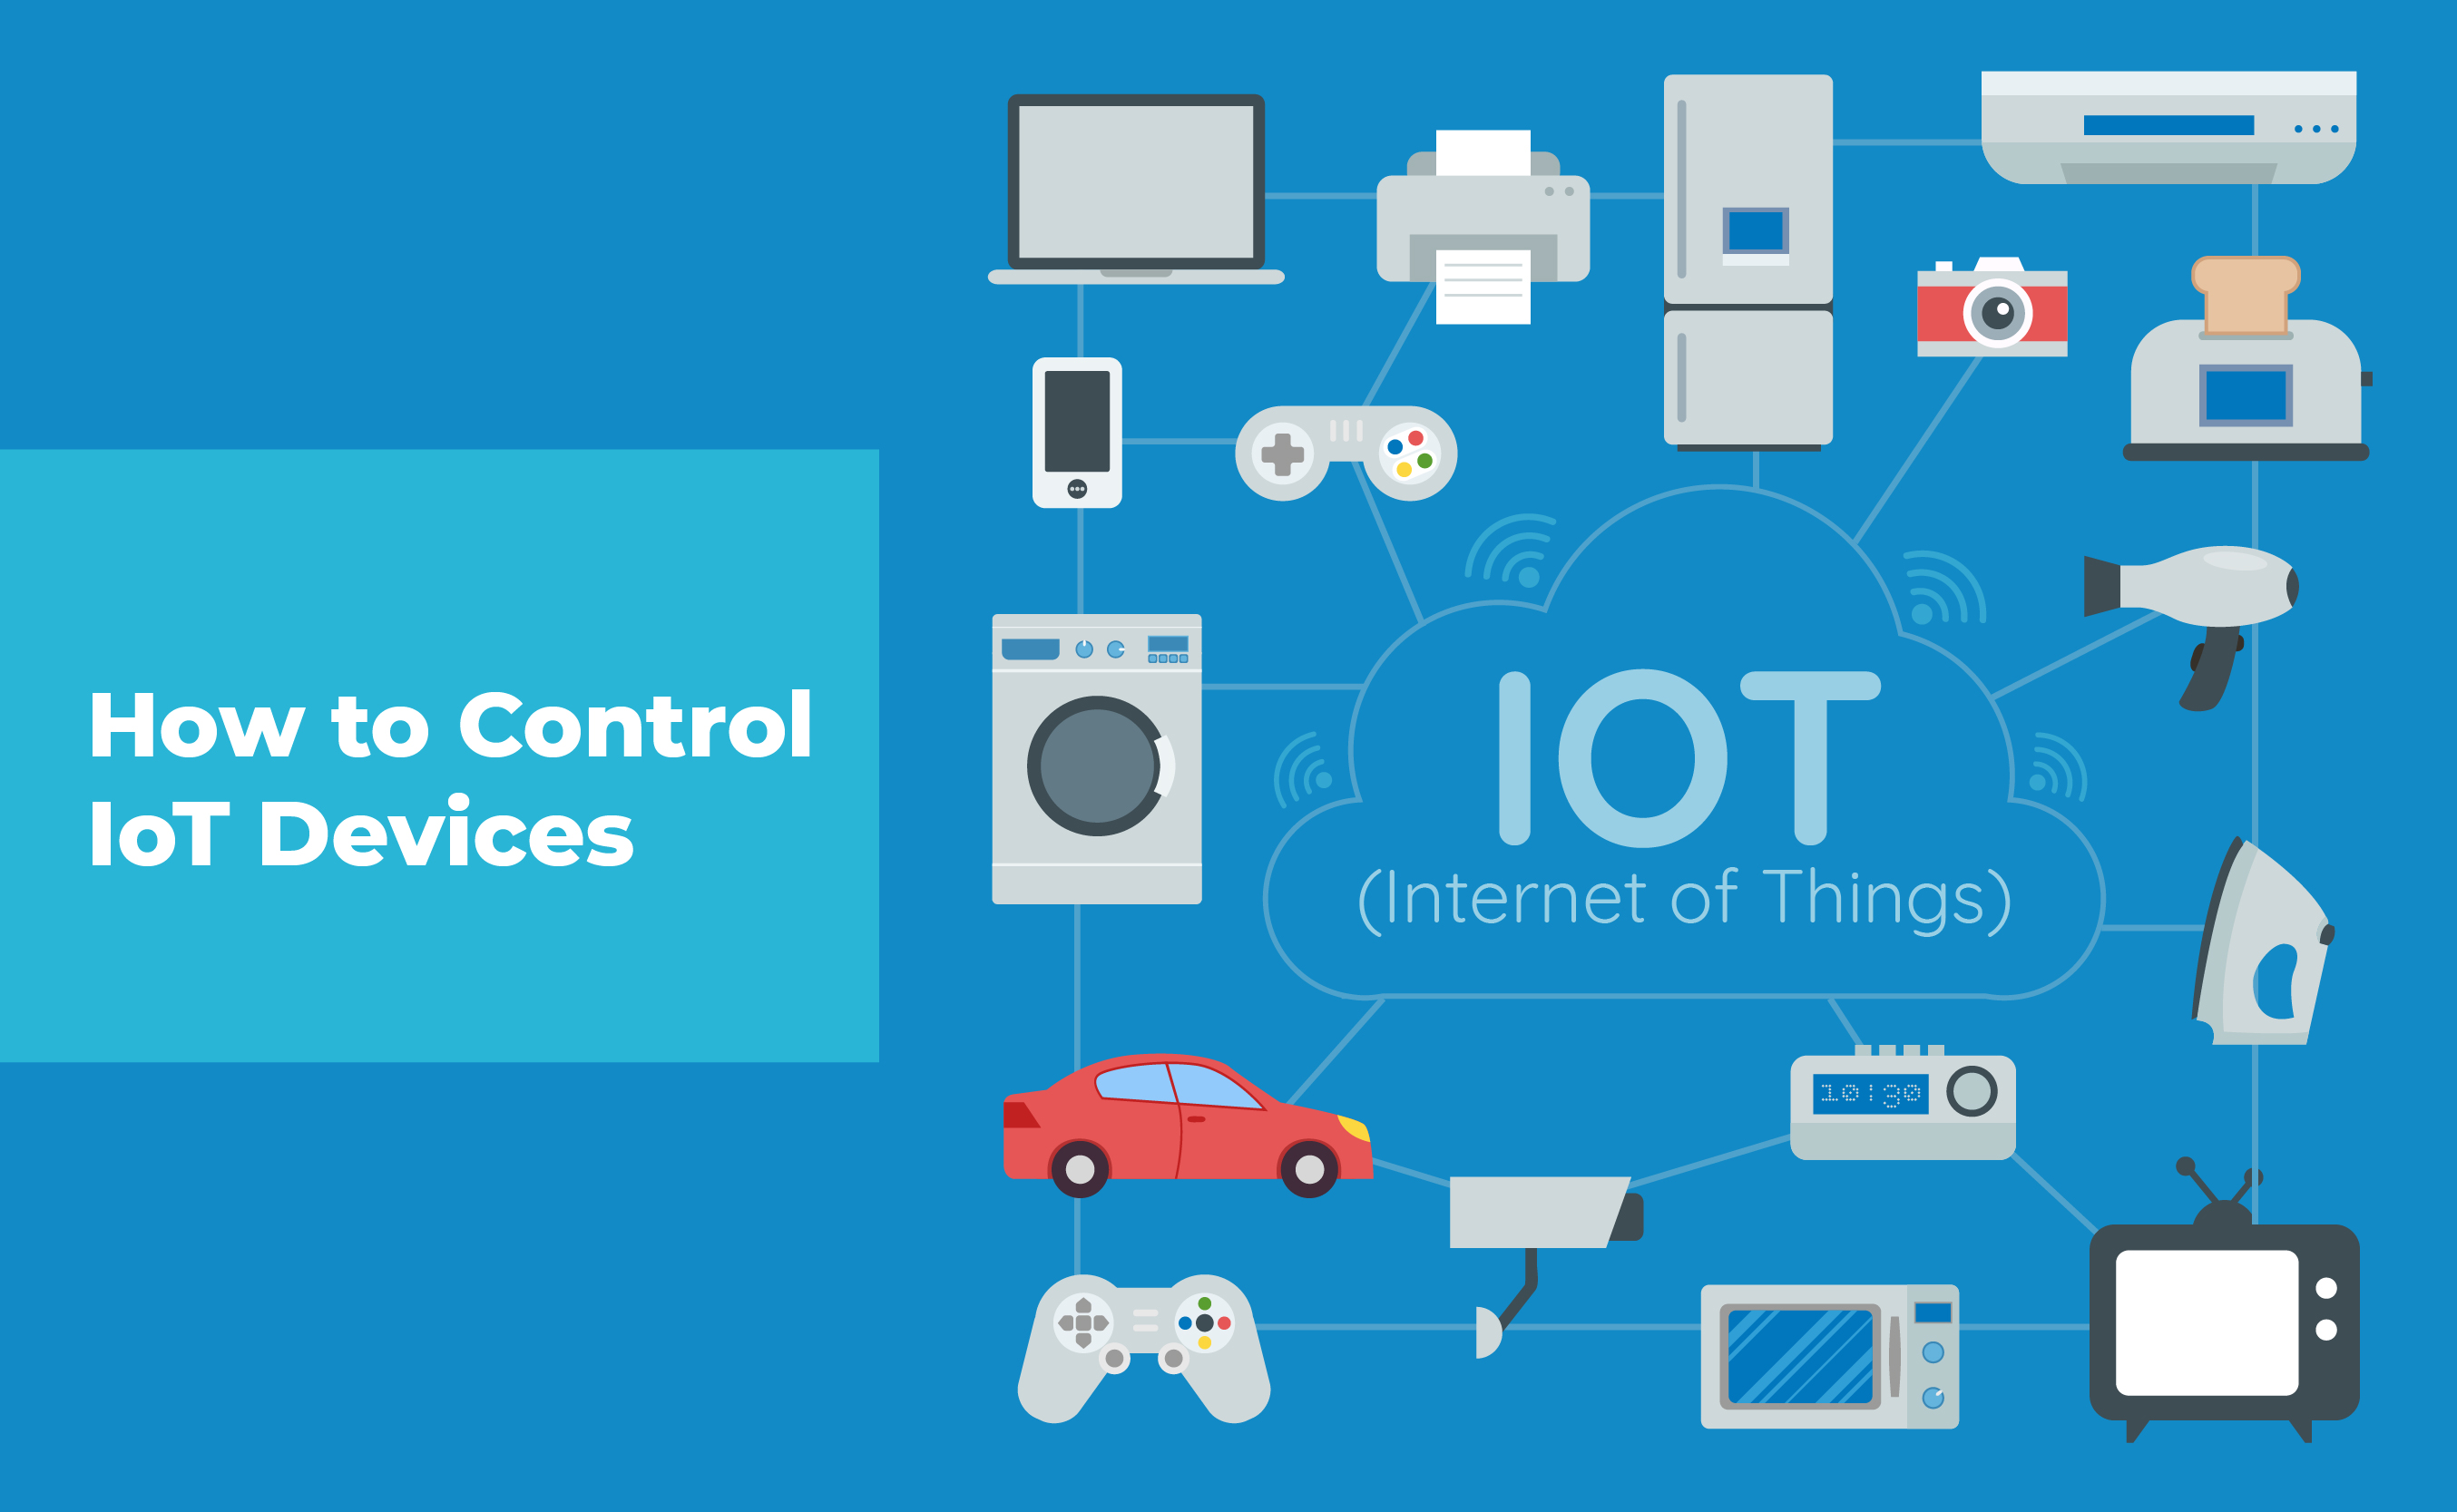
The nexus of this capability lies in a powerful trifecta: SSH, IoT devices, and Android applications. SSH provides the secure tunnel, the IoT device becomes the target, and the Android APK acts as the remote control panel. This opens up a vast range of possibilities, from simple home automation tasks to complex industrial monitoring and control systems. But how do you bridge the gap between your Android device and your remotely located IoT hardware? Let's delve into the essential components and the step-by-step process required to make this connection.
The fundamental principle is straightforward: SSH, or Secure Shell, creates an encrypted connection between your Android device (the client) and your IoT device (the server). This encrypted channel protects all data transmitted, including commands and responses, from eavesdropping and unauthorized access. The "internet" aspect necessitates a public IP address or a method to overcome the limitations of private networks. The "Android APK" is the custom-built application on your Android phone or tablet that allows for the initiation of SSH connection and provides a user interface for interaction with the IoT device. The selection of this combination has a significant impact on security and accessibility. While SSH offers strong security, the vulnerability of the IoT device to external attack via compromised credentials is always present. Therefore, secure implementation is critical.
Let's consider a common scenario: remotely accessing a Raspberry Pi acting as a home automation hub. The Raspberry Pi, connected to your home network, is the IoT device. Your Android phone is the remote client. The goal: to connect to the Raspberry Pi securely from anywhere in the world. The core components in this context would include:
- The IoT Device: In our example, a Raspberry Pi (other options exist such as Arduino, ESP32, etc. which have different configurations).
- An Android Device: Your smartphone or tablet running an Android operating system.
- An SSH Client App for Android: Applications like Termius, ConnectBot or JuiceSSH. (These facilitate the secure connection.)
- A Public IP Address or Dynamic DNS: This allows your Android device to locate the Raspberry Pi on the internet.
- Port Forwarding (if required): Configured on your home router to direct incoming SSH traffic to your Raspberry Pi.
- Firewall Rules (if enabled): to allow SSH traffic to reach the Raspberry Pi.
The initial steps typically involve configuring the IoT device (e.g., Raspberry Pi). This usually requires enabling SSH on the device itself. Most Linux-based IoT devices have SSH pre-installed, but it might need to be activated. In the case of a Raspberry Pi, this is usually done by using the `raspi-config` utility or by enabling SSH within the Raspberry Pi OS configuration. Remember that this step involves a degree of technical competency, which may involve connecting the device to a monitor and keyboard to make sure it is working and connected to network.
Next, it is important to make your IoT device accessible from the internet. If your device is behind a home router, which is the case for most users, you will need to configure port forwarding. This process tells your router to forward incoming traffic on a specific port (typically port 22, the default SSH port) to the internal IP address of your IoT device. The specifics of port forwarding depend on your router model. You will usually find this option in your router's settings or management interface. This also involves knowledge of your device's internal IP address, which can usually be obtained from your router's admin panel or the device's network settings.
Then, ensure the security of your SSH configuration is the utmost importance. Use strong passwords or, preferably, SSH keys for authentication. Disable password-based authentication if possible and rely on SSH keys, which are significantly more secure. The use of keys eliminates the risk associated with password compromise, and reduces the potential attack surface. For this, we can also change the default SSH port from 22 to another value to reduce the risk of automated bot attacks that search for vulnerable SSH servers. Update the operating system and all software on your IoT device regularly. This reduces the vulnerability of your device to security flaws. Further protection can be provided by using a firewall to limit access to your SSH port to only trusted IP addresses. This approach dramatically reduces the chances of unauthorized access. Moreover, consider implementing two-factor authentication (2FA) for an additional layer of protection, to guarantee that even if your key is compromised, it is hard to get full access to the device.
Setting up Dynamic DNS (DDNS) is generally a good practice, which allows you to access your device using a domain name instead of the potentially changing IP address assigned by your internet service provider (ISP). Most ISPs assign dynamic IP addresses, meaning they can change periodically. A DDNS service provides a static domain name that automatically updates with your current IP address. This way, you always know how to access your device, regardless of the IP address changes. Several free and paid DDNS services are available. You will need to configure your router or IoT device to use your chosen DDNS service. This often involves entering your DDNS credentials in the routers settings. There are also several DDNS services that provide clients for installation on IoT devices.
On your Android device, you will need to install an SSH client application, such as Termius, ConnectBot, or JuiceSSH. Open the client, enter the public IP address or the DDNS hostname of your IoT device, along with the SSH port (if it's not the default port 22), your username, and your password or SSH key. Most clients allow for the saving of connection profiles, making subsequent connections easier and faster. The user interface will vary depending on the app, but all apps function similarly.
Once connected, you will be presented with a command-line interface (CLI) to interact with the IoT device. From there, you can execute commands, manage files, and perform other tasks depending on the functionality of the device and the capabilities of your IoT device. For example, you could restart services, manage files, and install software on your IoT device directly from your Android device.
Using an Android APK as the primary method for connecting to the SSH device offers several advantages and some disadvantages as well. The advantages are mobility. Using your phone means you can have access to your devices anywhere. The security of the SSH protocol assures data is encrypted. The Android platform has a wide availability and the cost is relatively low. There are several applications available, which allows you to find a suitable interface to use. On the other hand, depending on the complexity of the implementation the configuration may require a reasonable degree of technical skill. Incorrect configuration can expose your IoT device to security risks. Also the user experience of some apps can be limited. The user interface of such Android applications is limited compared to dedicated desktop applications. Finally, security is dependent on the security of your IoT device and the correct configuration.
Building your own custom Android APK for interacting with the IoT device offers advanced functionality. This allows you to create a user interface tailored to your specific needs, offering a more streamlined and intuitive experience. Instead of a command-line interface, you can design custom buttons, gauges, and displays for controlling and monitoring your IoT device. You can also incorporate advanced features like data logging, charting, and push notifications. This process requires Android development skills, including knowledge of Java or Kotlin, Android SDK, and networking. A few open-source libraries and frameworks could be used to create the app and the SSH connection, although the implementation depends on the user's needs. Some developers make use of pre-existing libraries to simplify the connection process, while others prefer to build their applications from scratch for a more customized experience.
In conclusion, the process of connecting an SSH IoT device over the internet using an Android APK involves secure configuration of your IoT device, setting up port forwarding or dynamic DNS, and using a reliable SSH client app. Custom Android APK development allows for greater control and customization. This capability empowers you to manage your devices from anywhere, unlocking new possibilities for remote monitoring, control, and automation. Remember to prioritize security throughout the process, and ensure all the components are properly configured to take full advantage of the capabilities this architecture provides.


